Thursday, 29 November 2012

Life Drawing: 31st October Week 5


30 Second Drawings:


These are some warm up sketches. I feel I can work faster and can deconstruct the pose quicker, picking up the essential elements.


15 Second Drawings:


I am still having trouble with my flow lines. I have trouble working at such speed especially when deciding what to draw and what to leave out. However I feel a slight improvement especially in the second page, the poses are clearer. 


30 Second Arrow Drawing:


Here we went back to arrow lines. These I find an easier concept to grasps than the flow lines. Instead of keeping all the lines straight I allowed myself to curve them which I felt helped exaggerate the pose.


Left and Right Hand 1 Minute Drawings:

Here I first drew the pose with my left hand and then my right and was told to compare the two. Dan was instant that out Left hand drawing were better than our Right as they had more fluid lines. I disagree and think that the drawings are very disproportional and the lines are more static and broken than my Right hand drawings. When ever I draw I always keep my wrist off the table and use my shoulder keeping my lies fluid, which is why I think I like the Right hand drawings better. 


Drawing A- left hand

Drawing A- right hand

Drawing B- Left hand

Drawing B- right hand

3 Minute Drawings:


Before drawing these posses we first wrote down descriptions of the pose, what they ment to us to help depict a particular characteristic when drawing. I found this did help but for me having more time to study the pose means I know what draw and how to draw it. 


Description: protective, stationary, someone is about to jump over her (a ballet move).
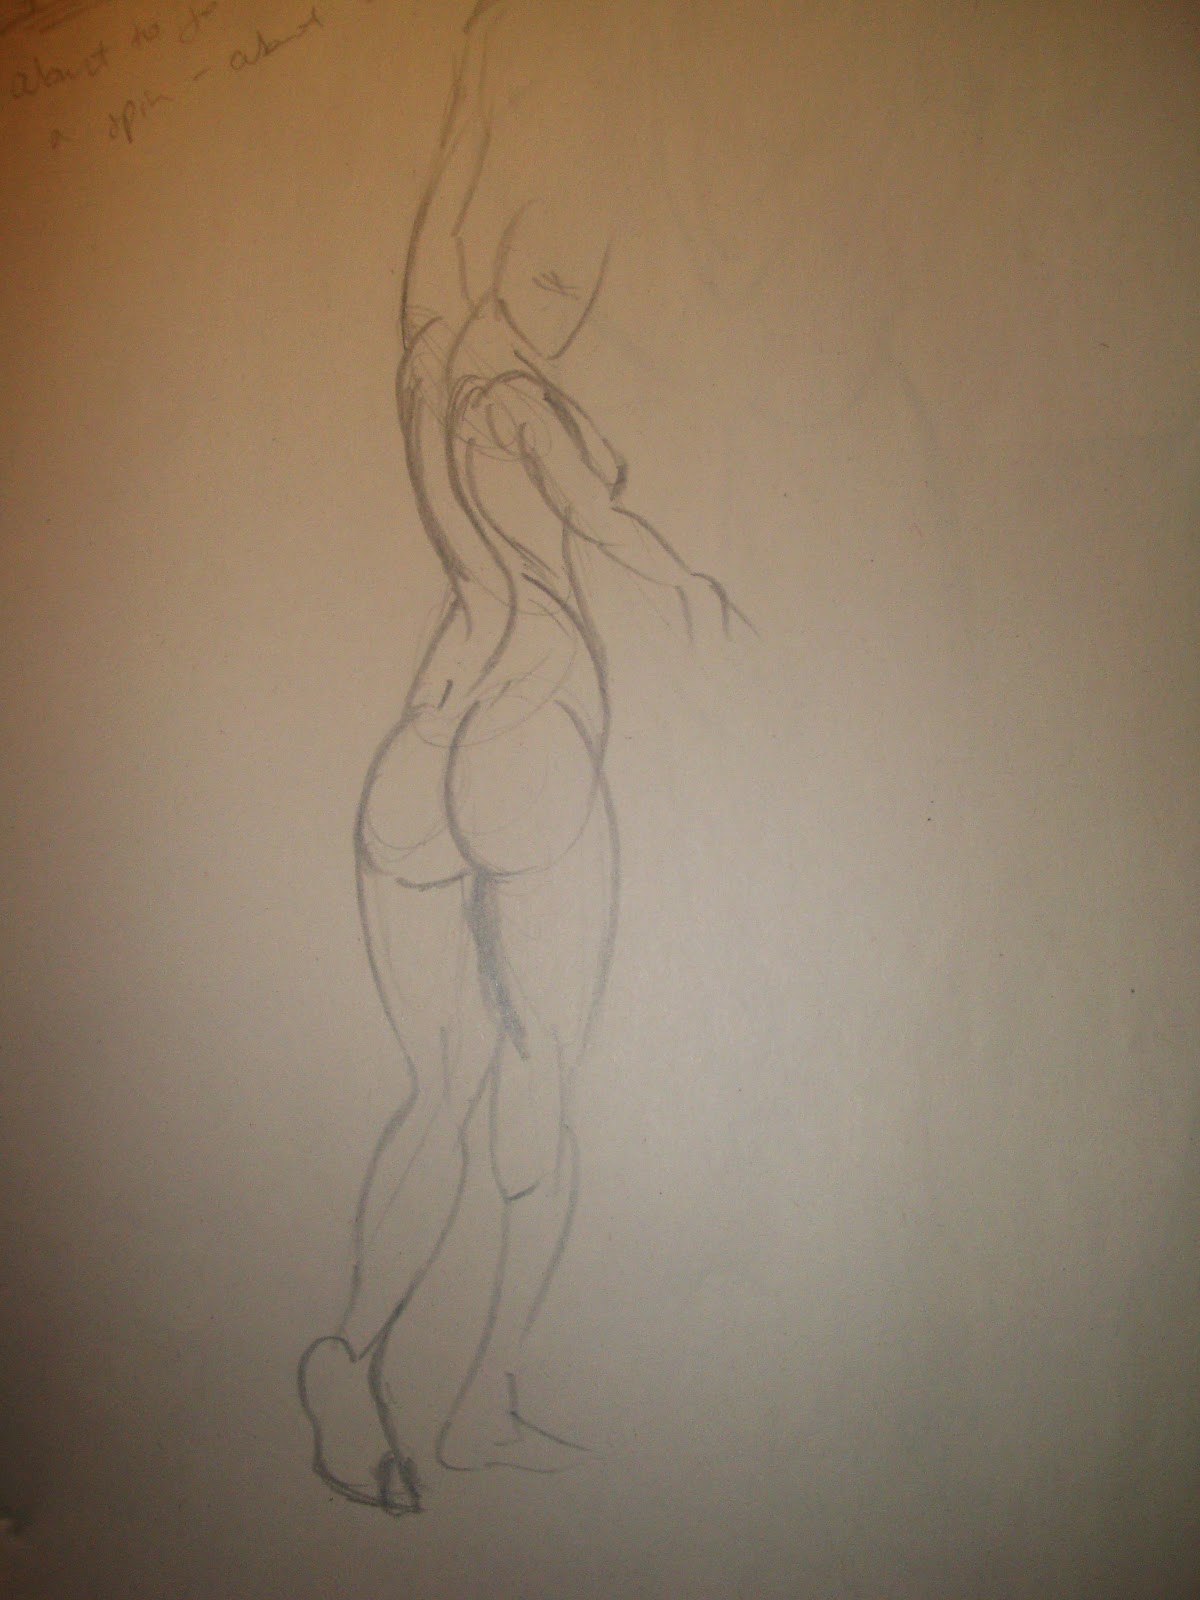


Description: fluid, twisted, exploring space, about to push off into a spin.


Life Drawing: 24th Oct Week 4


3 Minute Drawings:


Here are some warm up sketches where i have taken forward the curve technique I learnt in the pervious week. I can easily capture the pose and I don't work down one side of the body and then the other as i used to before, nor draw a static outline.


1 Minute Drawings:


I found these poses difficult to do using the curve technique, the poses came out to static and I felt that I couldn't capture them as well as the pervious week. However the lines are less overworked and the pose is still represented well enough. 


1 Minute Drawings: Pushing the Pose


There we had one minute to draw the pose and then redraw it exaggerating the stance. I found that the second drawing looked more realistic a representation of the pose and certainly capture the essence of it more than the first. Again with these drawings I was drawing form the shoulder to give lose fluid lines.


1 Minute Arrow Drawings:

There we practiced using arrows to present the 16 parts of the human figure and thus making the shape of the pose. The arrows indicate the direction the limb is pointing in. This helped me understand flow lines a little better and deconstruct the pose. 


1Minute Left Handed Drawings:


Here we used our left hand to try and loosen our strokes. we started off drawing an arrow drawing and then went to a full figure pose. It is difficult to judge my progress when using my left hand as the lines are messy but I still achieve a basic representation of the pose.


1 Minute Right Hand Drawings:


There we went back to the right hand but were told to maintain the fluidity we experienced with the left. I feel that these sketches capture the movement of the pose more than my first 1 minute drawings and have stronger and more defined lines.


Life Drawing: 17th Oct Week 3

1 Minute Drawings:


These are some warm up sketches. They are an improvement from last weeks drawings as I could finnish the pose quicker but the lines are still over worked.


1 Minute Flow Lines:

With more time for every pose I could the study poses and make different versions of the line drawing. I used no more than five lines for each pose trying to create the pose with one line.


1 Minute Reversible Line of Action: 

There I created the pose using only curves, convex and concave. to create the pose I had to use both types of curves opposing each other to balance the pose. The type of curve depends on where the light comes from. I preferred this type of drawing as it created the for of the figure well as used simple lines akin to the line drawings.


Life Drawing: 10th Oct Week 2


1 Minute Drawings:


These are some warm up sketches trying to capture the key essence of the pose in the limited time.


2 Minute Drawings:


Here I started to use heavier thinker lines to show a sense of weight. I tired to hold the pencil in a loser way moving it using my shoulder and not my wrist. 


15 Second Line Drawings:

These line drawings were meant to show the essence of the pose in a few lines.  I had difficulty doing this as I didn't know where to start and which lines where the most important for the pose. I believe this task would have been easier if I had time to analysis the pose and then have 15 seconds to draw it. 


1 Minute Drawings: 


After the line drawings we went back to 1 minute drawings trying to capture as much of the pose as possible.  I felt that after the line of action task I could finnish the pose with more ease and have time to reinforce some lines to give a sense of weight. 


2 Minute Drawings:


These next set of two minute drawings are an improvement than the first as i feel they have a better sense of movement and form. My favourite is in the first photo in the arched position, the simple line of the back is what I feel makes it effective. The pose next to it on the right is over worked, there are too many lines however it gives it a less static look.


Tuesday, 27 November 2012

After Effects Video Editing

I'v only used After Effects as a compositing tool and never as an editing tool. The video below shows four clips which before and after they were edited in After Effects.

Unedited Video Clip


Edited Video:


In most of the clips I used a Warp Stabiliser to stabilise a hand help shot and produced a smother or still shot. In the first clip I also experimented with the Brightness and Contrast and used a Dust and Scratches setting to create the blurry intro. I key framed it to make it look like a POV shot with some slowly opening their eyes.

When editing clip 2 I enlarged and repositioned the clip to remove the bar at the bottom of the shot. I also used the Exposure to create bright fade out at the end of the clip and used the same technique for clip 3 as well as the Warp Stabiliser. Even having used this the shot still remains a little blurred showing that the computer can't correct every thing.

Clip 4 also needed the Warp Stabiliser but with this shot I wanted to experiment with downgrading the quality of the image. I used an Add Grain tool to create a pixilated effect.

The video below was edited in Premier Pro using dynamic links with After Effects. Here I removed the video's audio and replaced it with a music track with a audio cross dissolve at the end.


Editing Photos in Photoshop

I have used photoshop during this term for my concept art and for my Time Based Narrative 2D animation. However I have never used it for editing photography. The first image below is an unedited jpeg image which I edited in photoshop.


 When editing i decided i wanted to create a dark dull day with the light coming in at a low angle lighting the bridge. Using the brightness and contrast I made the image less washed out. I increased the hue and saturation but still kept the colours keep the colours dull.  Separately I edited the buildings and the sky; making the sky darker using a Levels tool and edited the buildings using the Vibrancy and Curves tool.

I wanted the bridge to be lighter as if it was receiving more light than the buildings. I selected it using the Lasso tool and edited separately and feathered the edges. As an added effect I created reflections on the water where light form the bridge reflects onto the water.


Editing Raw DSLR files

This is the original Raw file before editing:


Here I experimented with the various editing settings to warm the image. I also tired to make it look like a brighter day by experimenting with the contrast and saturation. I also increased the detail to make the tree trunk in the foreground more textured.


This image was edited in photoshop where I could edit selected parts of the photo. Here I tired to make it look like the photo was taken at dusk. I experimented with the exposure, colour balance and learnt how to feather a selected are to prevent a defiant line between selected and non selected elements.