Monday, 10 December 2012

The Dark, Dark Tale: Storyboard


Storyboard:


The idea for this animation is to have one continuos shot traveling through the environments. This is a little difficult to show via storyboard stills so I made a quick animatic to show the movement of the continuos shot. As it stands at the moment the sequence is 1:13. I hope to make this longer but without doing the animation it is difficult to determine just how long it will be.

The music I have added is form Edward Scissorhands soundtrack by Danny Elfman. This is a better example of the music I would like than by pervious test shot.

Storyboard:


The next stage of development will be to complete designs and concept art which in turn may inspire a more detailed storyboard.

Sunday, 2 December 2012

The Dark, Dark Tale: Idea Development

One of my favourite short stories was The Dark, Dark Tale by Ruth Brown so I decided to animate this tale. Having just finished my Time Based Narrative which involved a lot of running cycles and frame by frame animation I wanted to explore using the camera to create movement.

After Effects virtual cameras have many settings which can be changed and used to create dynamic shot through what would have been a 2D image. I used this tutorial to get me started on my camera work.
http://www.youtube.com/watch?v=A_ax8s3Ftkw&list=FLHNSkJVo8XO8-WpCtHQtLdg&index=2&feature=plpp_video


This is a 17s test clip of how the animation might look like. There I explored colour and form of the environment and tested how the camera might move around. I also experimented with aperture and focal distance. The music is form Avatar by James Horner. I used this music temporarily to help emphasises the atmosphere but for my final animation I would like to collaborate with a music composure to create a score to fit the spooky atmosphere I wish to convey.


The Dark Forest:


Friday, 30 November 2012

Final Submission: The Snow Queen


Group Animation:


Created by Rebecca Meilak, Lloyd Thomas, Amy Cowley, Adam Atkins, Neil Yu- Ting Chio and Shadia Mohaiyuddin.
(Unfortunately Adam Atkins didn't provide any material so his animatic was used in the final sequence)

My Part of the Animation: 00:01:32:00- 00:01:55:00


The main thing learnt in this project more than the others is understanding the work flows in a projects, especially  when pitching ideas and working and directing a group. I enjoyed and felt comfortable in my role as director as I could take forward my idea and bring it to life but also could direct the group to achieve an other synchronised piece of work. 

The project was an over all positive experience for me and I enjoyed pre production concept ideas, idea development, story boarding to music, exploring software and animation tests, production and post production editing in After Effects. I had never used After Effects before this project but now I am confident in it's use all be it a  basic level.

This project particularly alerted me to the importance of story boarding and carrying a narrative through visual images and allowed the practice of these skills. This is particularly true in our project as it is the music which carries the narrative and no dialogue. 

Overall this project has giving me the planning and technical skill to start producing my own projects and shorts which I plan to start doing over the term break.


Thursday, 29 November 2012

Life Drawing: Term 1 Summery

This 1st term of life drawing has taught me to actually see the pose and draw it and not draw what I think I see. I have learnt many ways to deconstruct a pose, it's different elements such as weight, line of action, and rhythm. I feel that the work I have produced has improved significantly and I can work faster with each pose. Theses drawings and work flows have helped when drawing my running cycles for my animation in my Time Based Narrative module as they have allowed me to give a realistic quality to my characters movements.

Life Drawing: 21st November Week 8


1 Minute Drawings:


There are some warm up sketches, again I use a lot of curves as I find this the easiest way to capture the pose.


2 Minute Drawings:


Here we were exploring the concept of 'drawing across the body'. First I identified where the weight was being spread across the body, form shoulder, to hip, to knee, to feet. When drawing I lightly drew a zigzag line across the page to get a rough idea of direction the weight was going in. From there I drew in the pose. I felt that this helped me push the pose, giving the pose a real sense of weight and keeping it in proportion. 


30 Second Line of Action Drawings:


These are an improvement on the previous weeks. I can capture the pose in a few lines and give it some level of weight or stance. These still aren't my strongest drawings and prefer 1 minute sketches as I can collect more information and draw it in a way which is easier to understand.


15 Minute Drawings:

I started of these drawings buy lightly drawing across the body, and lightly indicating the form using convex and concave curves. After which I started to build up the line to show weight and kept drawing the forces going across the body and not focus on the out line. The shading came last one I was happy with the proportions. Using the techniques I've learnt in the past weeks I drew this figure with more confidence, especially in regard to proportion, than before i started.


Life Drawing: 31st October Week 5


30 Second Drawings:


These are some warm up sketches. I feel I can work faster and can deconstruct the pose quicker, picking up the essential elements.


15 Second Drawings:


I am still having trouble with my flow lines. I have trouble working at such speed especially when deciding what to draw and what to leave out. However I feel a slight improvement especially in the second page, the poses are clearer. 


30 Second Arrow Drawing:


Here we went back to arrow lines. These I find an easier concept to grasps than the flow lines. Instead of keeping all the lines straight I allowed myself to curve them which I felt helped exaggerate the pose.


Left and Right Hand 1 Minute Drawings:

Here I first drew the pose with my left hand and then my right and was told to compare the two. Dan was instant that out Left hand drawing were better than our Right as they had more fluid lines. I disagree and think that the drawings are very disproportional and the lines are more static and broken than my Right hand drawings. When ever I draw I always keep my wrist off the table and use my shoulder keeping my lies fluid, which is why I think I like the Right hand drawings better. 


Drawing A- left hand

Drawing A- right hand

Drawing B- Left hand

Drawing B- right hand

3 Minute Drawings:


Before drawing these posses we first wrote down descriptions of the pose, what they ment to us to help depict a particular characteristic when drawing. I found this did help but for me having more time to study the pose means I know what draw and how to draw it. 


Description: protective, stationary, someone is about to jump over her (a ballet move).


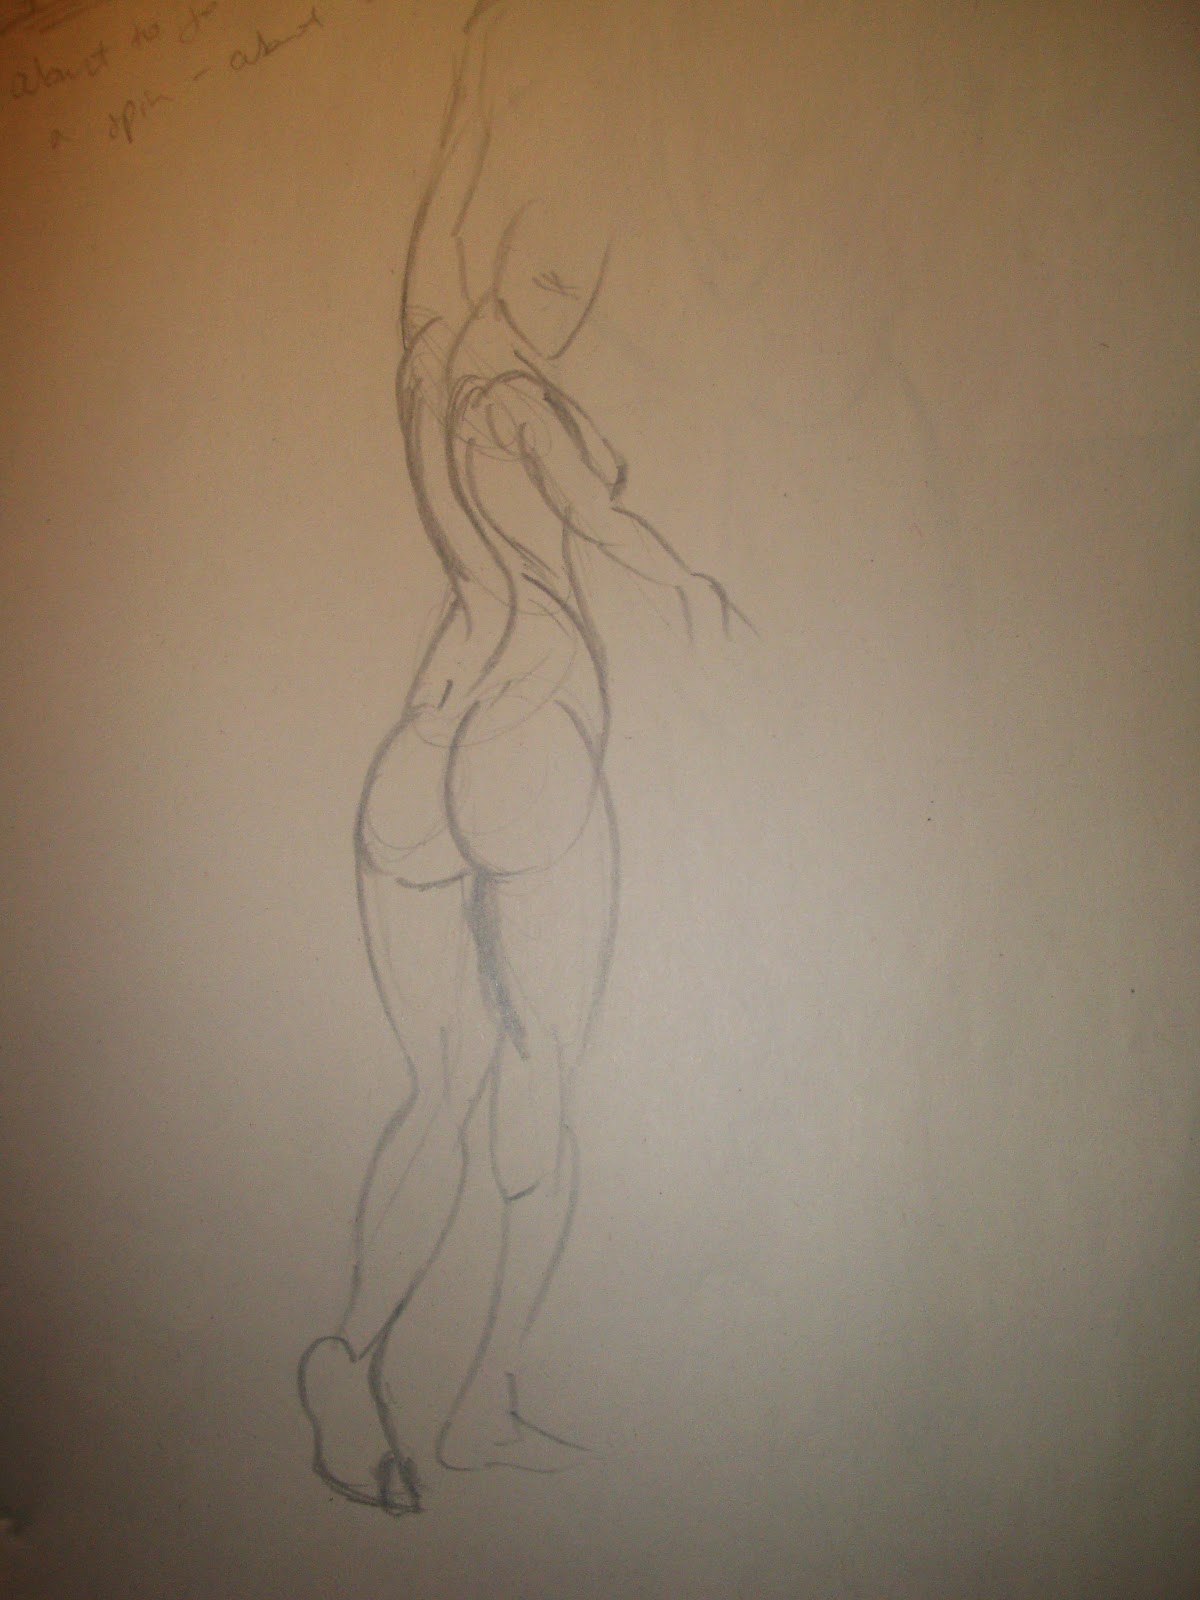
Description: fluid, twisted, exploring space, about to push off into a spin.


Life Drawing: 24th Oct Week 4


3 Minute Drawings:


Here are some warm up sketches where i have taken forward the curve technique I learnt in the pervious week. I can easily capture the pose and I don't work down one side of the body and then the other as i used to before, nor draw a static outline.


1 Minute Drawings:


I found these poses difficult to do using the curve technique, the poses came out to static and I felt that I couldn't capture them as well as the pervious week. However the lines are less overworked and the pose is still represented well enough. 


1 Minute Drawings: Pushing the Pose


There we had one minute to draw the pose and then redraw it exaggerating the stance. I found that the second drawing looked more realistic a representation of the pose and certainly capture the essence of it more than the first. Again with these drawings I was drawing form the shoulder to give lose fluid lines.


1 Minute Arrow Drawings:

There we practiced using arrows to present the 16 parts of the human figure and thus making the shape of the pose. The arrows indicate the direction the limb is pointing in. This helped me understand flow lines a little better and deconstruct the pose. 


1Minute Left Handed Drawings:


Here we used our left hand to try and loosen our strokes. we started off drawing an arrow drawing and then went to a full figure pose. It is difficult to judge my progress when using my left hand as the lines are messy but I still achieve a basic representation of the pose.


1 Minute Right Hand Drawings:


There we went back to the right hand but were told to maintain the fluidity we experienced with the left. I feel that these sketches capture the movement of the pose more than my first 1 minute drawings and have stronger and more defined lines.